Everything You’ll Need
| Tool/Material | Laminate Flooring | Purpose |
|---|---|---|
| Utility Knife | ✔ | For cutting underlayment and trimming laminate edges |
| Tape Measure | ✔ | To measure room dimensions and plank cuts |
| Straight Edge | ✔ | For making straight cuts and alignment |
| Pry Bar | ✔ | To remove baseboards or old flooring |
| Spacers | ✔ | Maintain expansion gaps along the walls |
| Tapping Block | ✔ | To gently tap planks together without damage |
| Non-Marring Hammer | ✔ | Works with tapping block for tight fits |
| Laminate Cutter or Saw | ✔ | For cutting planks to size |
| Knee Pads | ✔ | Protect knees during the installation process |
| Level | ✔ | Ensure the subfloor and first row are even |
| Chalk Line | ✔ | Mark straight alignment lines |
| Underlayment Roll | ✔ (if required) | Adds cushioning and soundproofing |
| Jigsaw or Oscillating Tool | ✔ | For cutting irregular shapes (around pipes, door jambs) |
Step 1: Choose a Layout Pattern
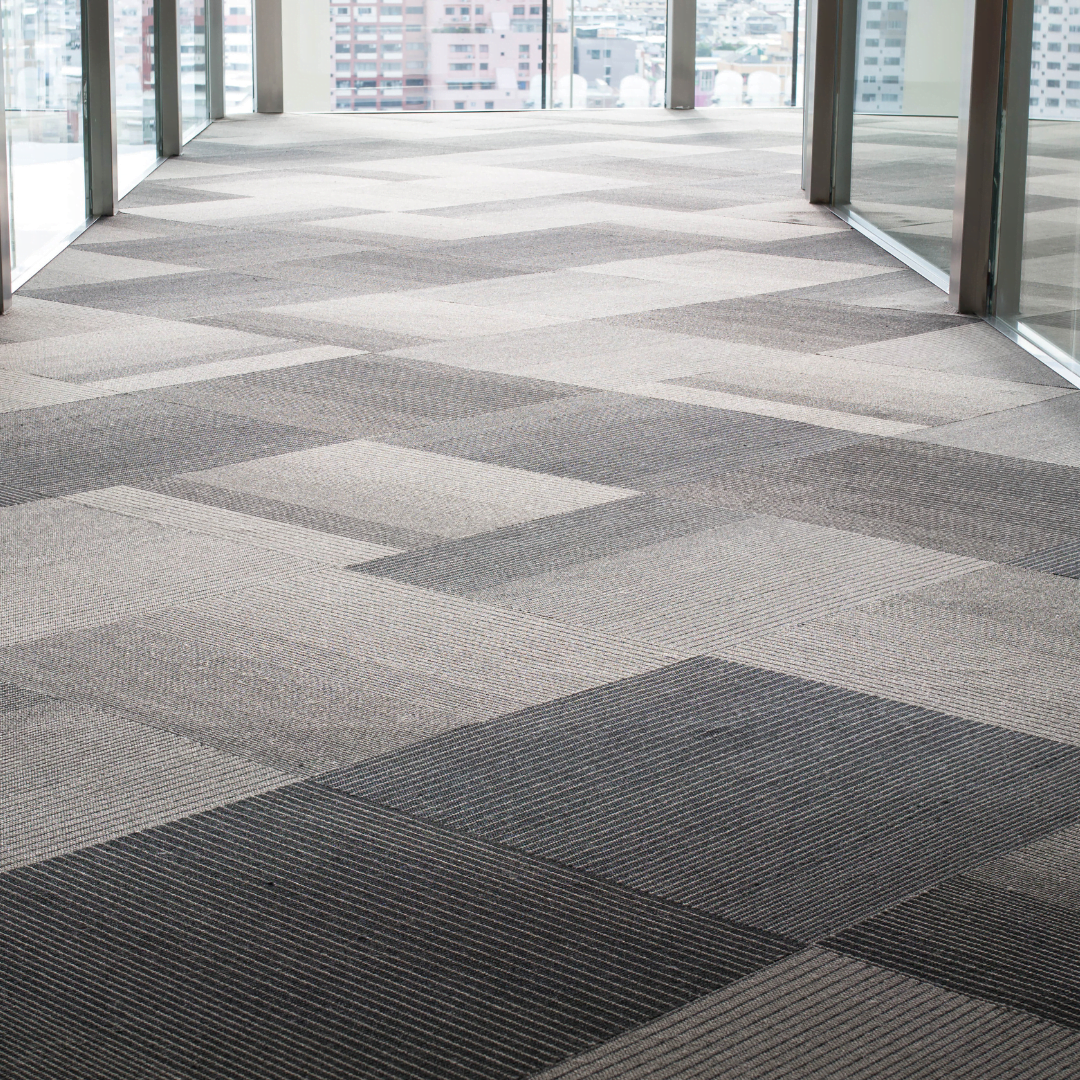
Before installing your laminate flooring, it’s important to decide how you’ll lay out the planks. While laminate doesn’t offer as many elaborate pattern options as vinyl or tile, your layout choice can still make a big impact on the room’s appearance and flow.
Here are the most common and effective patterns for laminate flooring:
Straight Lay Pattern (Most Common)
The most popular and beginner-friendly option.
Planks are installed parallel to the longest wall or to the direction of natural light. This creates a clean, timeless look and is ideal for most rooms.
Diagonal Pattern
For a more dynamic, high-end look.
Planks are laid at a 45-degree angle to the walls, which can make small rooms feel larger or add visual interest to square spaces. Be aware this method may require more cutting and extra material.
Random/Variable Stagger
Planks are installed in a staggered fashion, varying the plank lengths row by row.
This approach mimics the natural randomness of hardwood flooring and prevents repetitive patterns or seams lining up.
Herringbone or Chevron (Advanced/Pro)
Some specialty laminate floors are designed for herringbone or chevron patterns.
While stunning, these layouts require precise cuts and more planning. Not all laminate brands offer planks suited for these patterns.

Step 2: Prepare the Space
Remove Baseboards and Old Flooring
Start by removing any baseboards and your existing flooring to create a clean, bare surface.
Use a pry bar to carefully detach the baseboards — take your time to avoid damaging the walls so you can reuse the trim later.
If you’re replacing carpet, cut it into smaller sections with a utility knife and pull it up.
For tile, vinyl, or wood, follow the proper removal process for each material.
Clean and Inspect the Subfloor
Sweep and vacuum thoroughly to remove dust and debris.
Check for cracks, dips, or high spots. Use a leveling compound to fill any low areas and sand down any raised spots. A smooth, even subfloor is crucial for a long-lasting laminate floor.
Install Underlayment
Most laminate floors require an underlayment unless they have one pre-attached.
Underlayment adds cushioning, reduces noise, and helps correct minor subfloor imperfections.
Roll it out across the subfloor, making sure edges butt together without overlapping. Tape the seams securely.
✅ Pro Tip: If installing over concrete, consider adding a moisture barrier under the underlayment.
Step 3: Choose an Installation Method
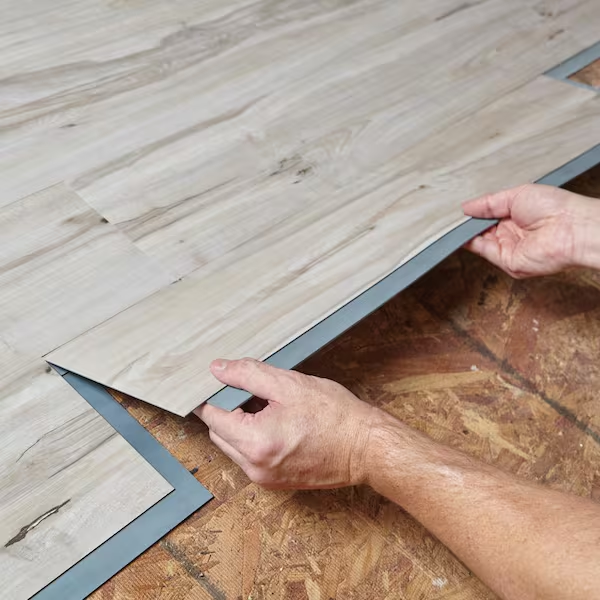
Laminate flooring is designed with DIYers in mind and primarily uses one straightforward installation method: Click-Lock (Floating Floor). Unlike some other flooring types, laminate does not typically use adhesive or peel-and-stick methods.
Click-Lock (Floating Installation)
The Click-Lock system — also called tongue-and-groove or interlocking — is by far the most popular and DIY-friendly option for laminate flooring. The edges of each plank are designed to click together, forming a secure connection without the need for nails or glue.
This method allows the floor to “float” over the subfloor, which gives it flexibility to expand and contract naturally with temperature and humidity changes.
Key Advantages:
- No adhesives required — easier cleanup and fewer materials.
- DIY-friendly — great for beginners.
- Versatile — works well over different types of subfloors, including concrete and plywood.
Installation Tips:
- Always leave a 1/4-inch expansion gap around the perimeter of the room using spacers. This prevents buckling as the flooring expands and contracts.
- Follow the manufacturer’s guidelines for plank alignment and clicking techniques.
- Use a tapping block and pull bar to ensure tight seams without damaging the plank edges.
Step 4: Lay the First Row
Trim the Short Tongue Edge of the First Plank
Begin by cutting off the short tongue edge of your first plank. This lets the plank sit flush against the wall for a cleaner, more professional look. You can use a utility knife for thinner laminates or a circular saw or miter saw for thicker planks.
Position the First Plank 1/4 Inch from the Wall
Place the first plank along your starting wall, leaving a 1/4-inch gap between the plank and the wall. This gap is essential because laminate flooring naturally expands and contracts with temperature and humidity changes.
Insert Spacers to Maintain the Expansion Gap
Place spacers between the wall and the flooring to keep the expansion gap consistent as you lay the floor. Continue using these spacers around the entire perimeter of the room.
Stagger End Joints for Stability and Appearance
When starting the second row, cut the first plank to be at least 6 inches shorter than the first plank of the previous row. This staggers the end joints, improving the floor’s structural integrity and creating a more natural, random appearance.
Tip: Avoid lining up joints across rows — doing so can weaken the floor and make it look artificial.
Step 5: Cutting Planks to Fit
Straight Cuts — Score and Snap
For straight cuts (like trimming the end of a plank):
Use a utility knife to score along your marked cut line.
Snap the plank along the score for a clean break (this method works best for thinner laminates).
For thicker or tougher laminate, use a laminate cutter, circular saw, or miter saw for precise, clean cuts.
Irregular Cuts — Around Corners and Obstacles
When cutting around door frames, corners, or awkward shapes:
Use a jigsaw or oscillating multi-tool.
These tools allow precise, curved, or angled cuts that a standard saw can’t achieve.
Cutting Around Pipes
Measure the diameter of the pipe and add 1 inch to allow for expansion.
Drill a hole in the plank to fit the pipe size.
Make a straight cut from the hole to the plank’s edge.
Once installed, seal around the pipe with a bead of silicone caulk to cover the gap and prevent moisture from seeping in.
Tight Spaces — Under Door Jambs
Use a jamb saw (also called an undercut saw) to trim the bottom of the door frame.
This allows you to slide the laminate plank neatly underneath for a clean, professional look.
Pro Tip: Always wear safety goggles and work slowly when using power tools to avoid splintering the laminate or damaging surrounding materials.
| Cutting Task | Recommended Tool(s) | Technique |
|---|---|---|
| Straight cuts (length/width) | Utility knife (thin laminate) Laminate cutter or miter saw (standard) | Score and snap for thin laminate Use a saw for clean, straight cuts |
| Irregular cuts (corners, curves) | Jigsaw or oscillating multi-tool | Mark the shape, cut slowly following the line |
| Around pipes | Drill + Jigsaw or Hole saw | Drill a hole + cut a slit to the edge, leave ½” expansion gap |
| Tight spaces (door jambs) | Jamb saw (undercut saw) | Undercut the jamb to slide the plank underneath |
| Final fitting/trimming | Utility knife or laminate cutter | Trim small excess for a snug fit |
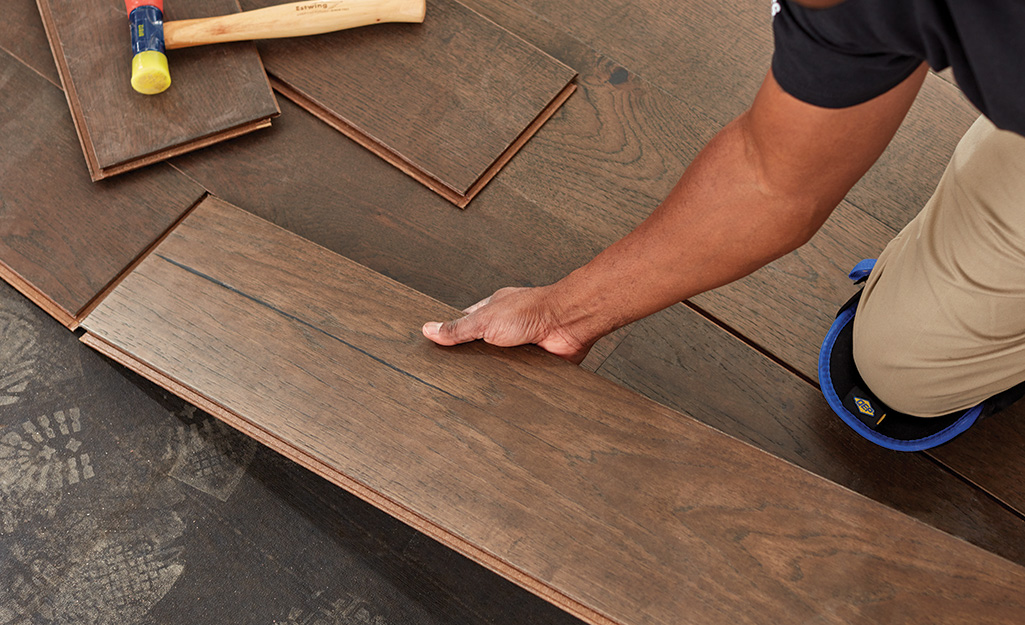
Step 6: Laying Subsequent Rows
Angle the Planks into Place
Begin each new row by angling the tongue of the plank into the groove of the previous row. Gently lower the plank until it clicks or fits snugly into position.
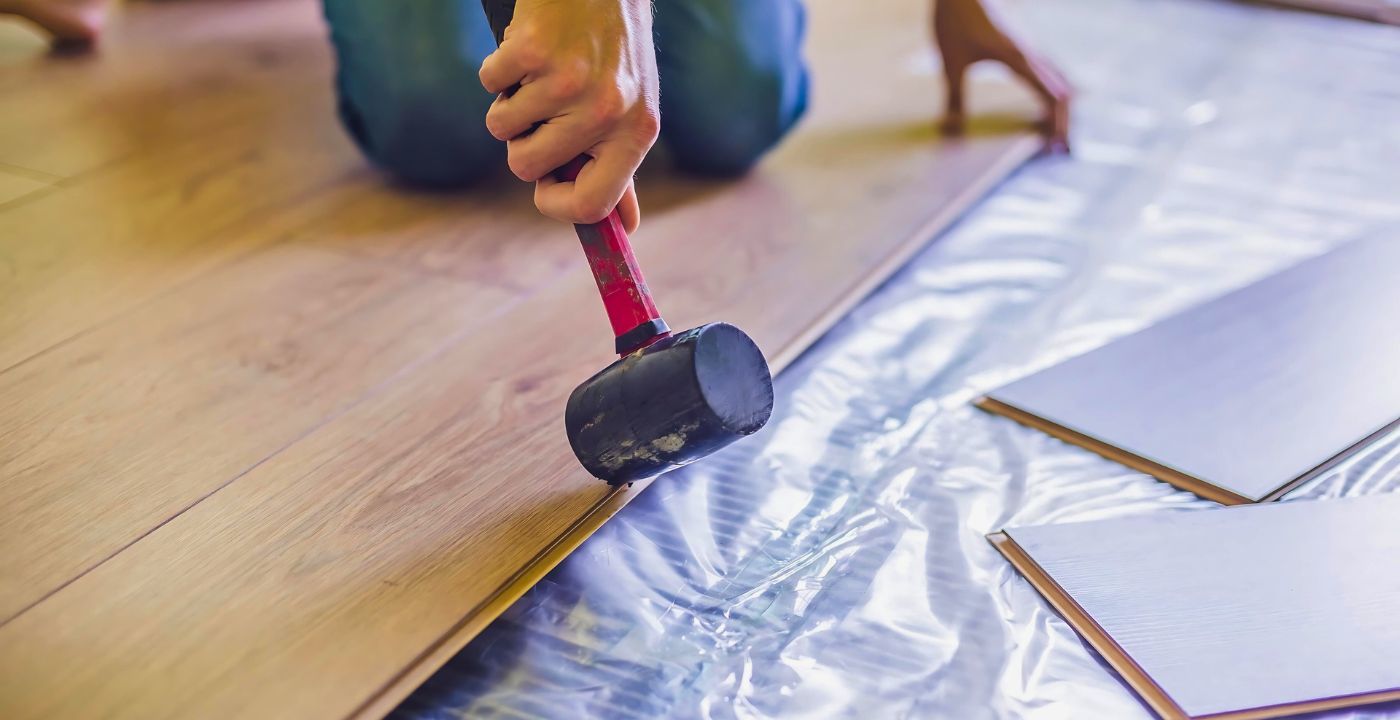
Use a Tapping Block and Non-Marring Hammer
For a tight, seamless fit, use a tapping block and a non-marring hammer (or mallet).
Place the tapping block against the edge of the plank.
Tap gently to close any gaps between the planks.
Never use a standard hammer directly on the laminate—this can chip or damage the edges.
Maintain the Staggered Pattern
Continue staggering the end joints by at least 6 inches in each row for both stability and a natural appearance.
Check Expansion Gaps
Keep spacers along the walls to maintain the 1/4-inch expansion gap throughout the installation.
Step 7: Finishing the Installation
Install Transition Strips
Once all planks are in place, install transition strips at doorways and where the laminate meets other flooring types. These strips:
Provide a smooth, safe transition.
Protect the edges of your laminate flooring.
Follow the manufacturer’s instructions for type and installation.
Transitioning to Other Flooring
Use the right type of transition:
T-molding for floors of equal height.
Reducer strips for transitioning to lower surfaces like tile or vinyl.
Attach transition strips to the subfloor—never directly to the laminate—leaving a 1/4-inch expansion gap to prevent buckling.
Reinstall Baseboards
Reattach baseboards, securing them to the wall, not the floor. This allows the laminate to expand and contract freely beneath.
Allow the Floor to Settle
Before moving furniture back or walking extensively on the floor:
Allow at least 48 hours for the laminate to acclimate to the room’s temperature and humidity.
Common Mistakes to Avoid When Installing Laminate Flooring
Installing in High-Moisture Areas
Laminate flooring isn’t recommended for areas with excessive moisture, like full bathrooms or laundry rooms. Water can seep into the seams, causing swelling or warping.
Using a Hammer Directly on Planks
Never use a hammer directly on the laminate. Always use a tapping block or pull bar to gently secure planks without damaging their edges.
Overlapping End Joints
Don’t align or overlap the end joints of planks in adjacent rows. This weakens the floor’s structure and can lead to gaps or uneven surfaces. Stagger the joints by at least 6 inches.
Skipping the Expansion Gap
Failing to leave a 1/4-inch expansion gap around the room’s perimeter can cause buckling as the floor expands and contracts with temperature and humidity changes.
Walking on the Floor Too Soon
Allow the laminate floor to acclimate and settle for 48 hours after installation before subjecting it to foot traffic or placing heavy furniture.
Tips for a Successful Laminate Flooring Installation
- Measure Accurately and Plan for Waste
Measure your room carefully and purchase 10% extra laminate flooring to account for cuts, mistakes, and future repairs. - Inspect Planks Before Installation
Check each plank for defects or damage before laying it. Discard or set aside any damaged pieces to maintain a high-quality finish. - Use Knee Pads for Comfort
Protect your knees by using knee pads, especially during long installation sessions. This can also help you work more efficiently. - Work Methodically and Don’t Rush
Take your time with each step, from laying the first row to cutting planks. Rushing can lead to poor fits, uneven seams, and costly mistakes. - Maintain the Recommended Expansion Gap
Always leave a 1/4-inch expansion gap around the perimeter to prevent buckling as the laminate expands and contracts.
DIY vs. Professional Laminate Flooring Installation
Many homeowners choose laminate flooring because it’s one of the most DIY-friendly flooring options available. But whether to install it yourself or hire a professional depends on your comfort level, tools, and project complexity.
DIY Installation
✅ Pros:
- Save on labor costs (typically $2 to $5 per sq ft).
- Flexibility to work at your own pace.
- Great for smaller, simple rooms.
❌ Cons:
- Requires basic tools (spacers, tapping block, saws).
- Mistakes like improper expansion gaps can lead to warping or separation.
- Time-consuming, especially for larger or irregularly shaped spaces.
Professional Installation
✅ Pros:
- Fast, precise installation.
- Experts handle subfloor prep, tricky cuts, and transitions.
- Often includes a warranty.
❌ Cons:
- Additional cost — typically adds $2 to $5 per sq ft for labor.
On average, laminate flooring installation (materials + labor) costs between $4 and $12 per square foot depending on the style and complexity. For a more detailed breakdown, check out our Laminate Flooring Cost Guide.
| Installation Method | Average Cost per Sq Ft | Pros | Cons |
|---|---|---|---|
| DIY Installation | $1.50 – $4 (materials only) | Save on labor Flexible schedule Good for small areas | Time-consuming Requires tools & skills Mistakes can be costly |
| Professional Installation | $4 – $12 (materials + labor) | Fast & precise Warranty often included Handles complex cuts & transitions | Higher upfront cost |
Do You Need Professional Help With Your Laminate Flooring Installation Project?
Now that you’ve learned how to install laminate flooring, you’re well on your way to creating a stylish, durable floor. But if you’d rather skip the heavy lifting and precise cuts, our expert team is ready to help.
We handle everything — from proper subfloor preparation to perfect plank alignment — so you can sit back and enjoy flawless, long-lasting results. We’ll also assist you in choosing the right laminate style and underlayment to match your space and budget.
Contact us today to schedule your free in-home consultation and see if we serve your area.